-
By product category
-
Search by product
- SR3000-5G
- SR3000-5G-Ruggedized
- SR3000
- SR3000-lite
- T5100
- PR12
- T5300
- FWR7302
- FWR9601
- FWR8102
- PR08
- LM150
- G504
- G508
- FTA1101
- FTA5102E2
- FGW4148-16S/24S/32S/48S
- FIP16
- FIP15G
- FTA5101
- FWR9502
- FWR8101
- FWR7102
- P23G
- P23GW
- P22G
- P22P
- P21/P21P
- P20/P20P/P20G
- P11W
- P10W
- P11/P11P/P11G
- P10/P10P/P10G
- FIP16Plus
- FIP15G Plus
- FIP14G
- FIP12WP-R
- FIP13G
- FIP12WP/ FIP12WP Home
- FIP11C/FIP11CP
- FIP10/FIP10P
- P11LTE
- P10LTE
- i12/i12V
- i11/i11V
- P2EXP
- i86V-01/02
- PB01
- i86-01/02/03
- FTA5111
- HB01 & USB433
- FTA5120
- HP200
- BT50
- EHS10
- FPX9102H
- SW7R-Pro
- FRPS
- FACS
- FDC
-
Find by question type
FRPS is a Redirect Provisioning System design for the Flyingvoice product, it allows the user to configure and manage the Flyingvoice devices with their cloud management platforms or cloud PBXs.
This article mainly describes how to use this system.
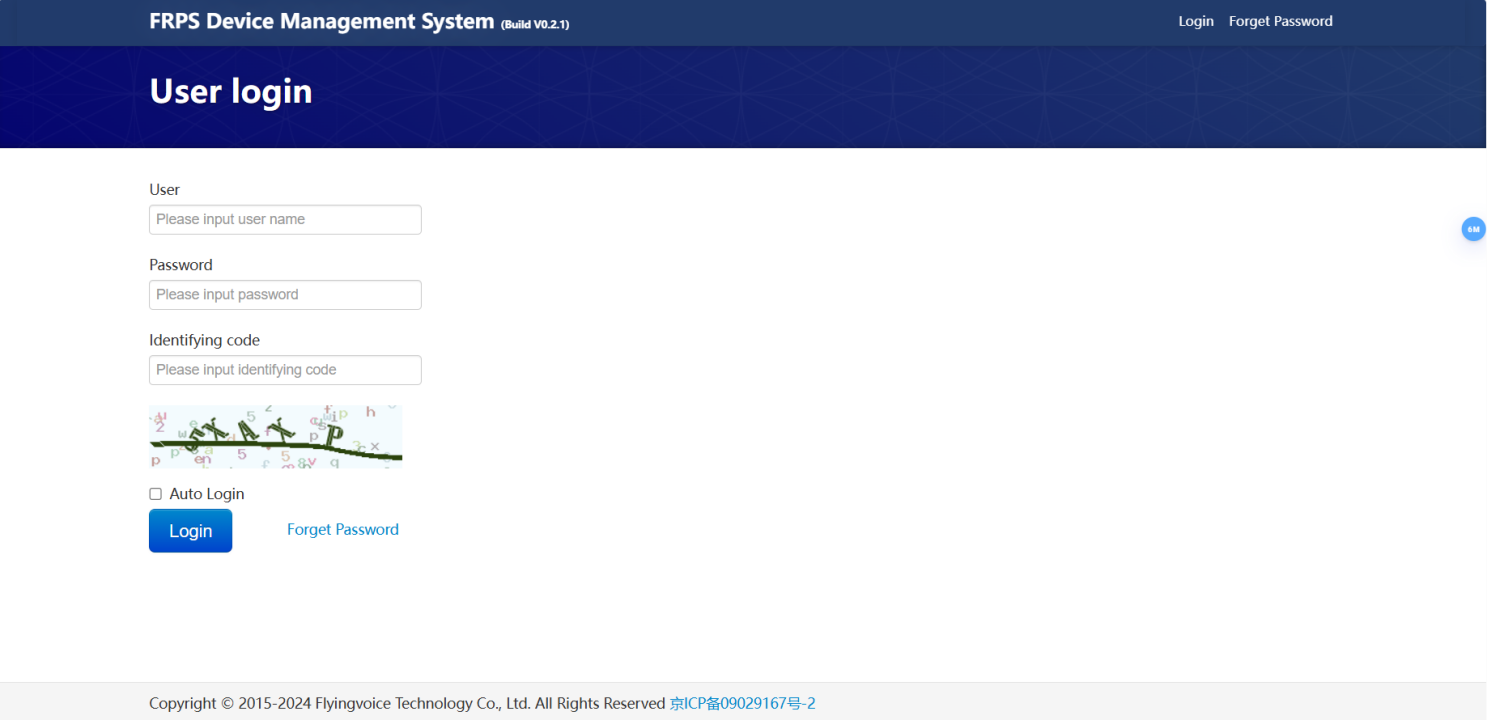
Login
Enter the correct username, password and verification code to log in.
The login URL is http://rps.flyingvoice.net:8090/frps/user/login.html
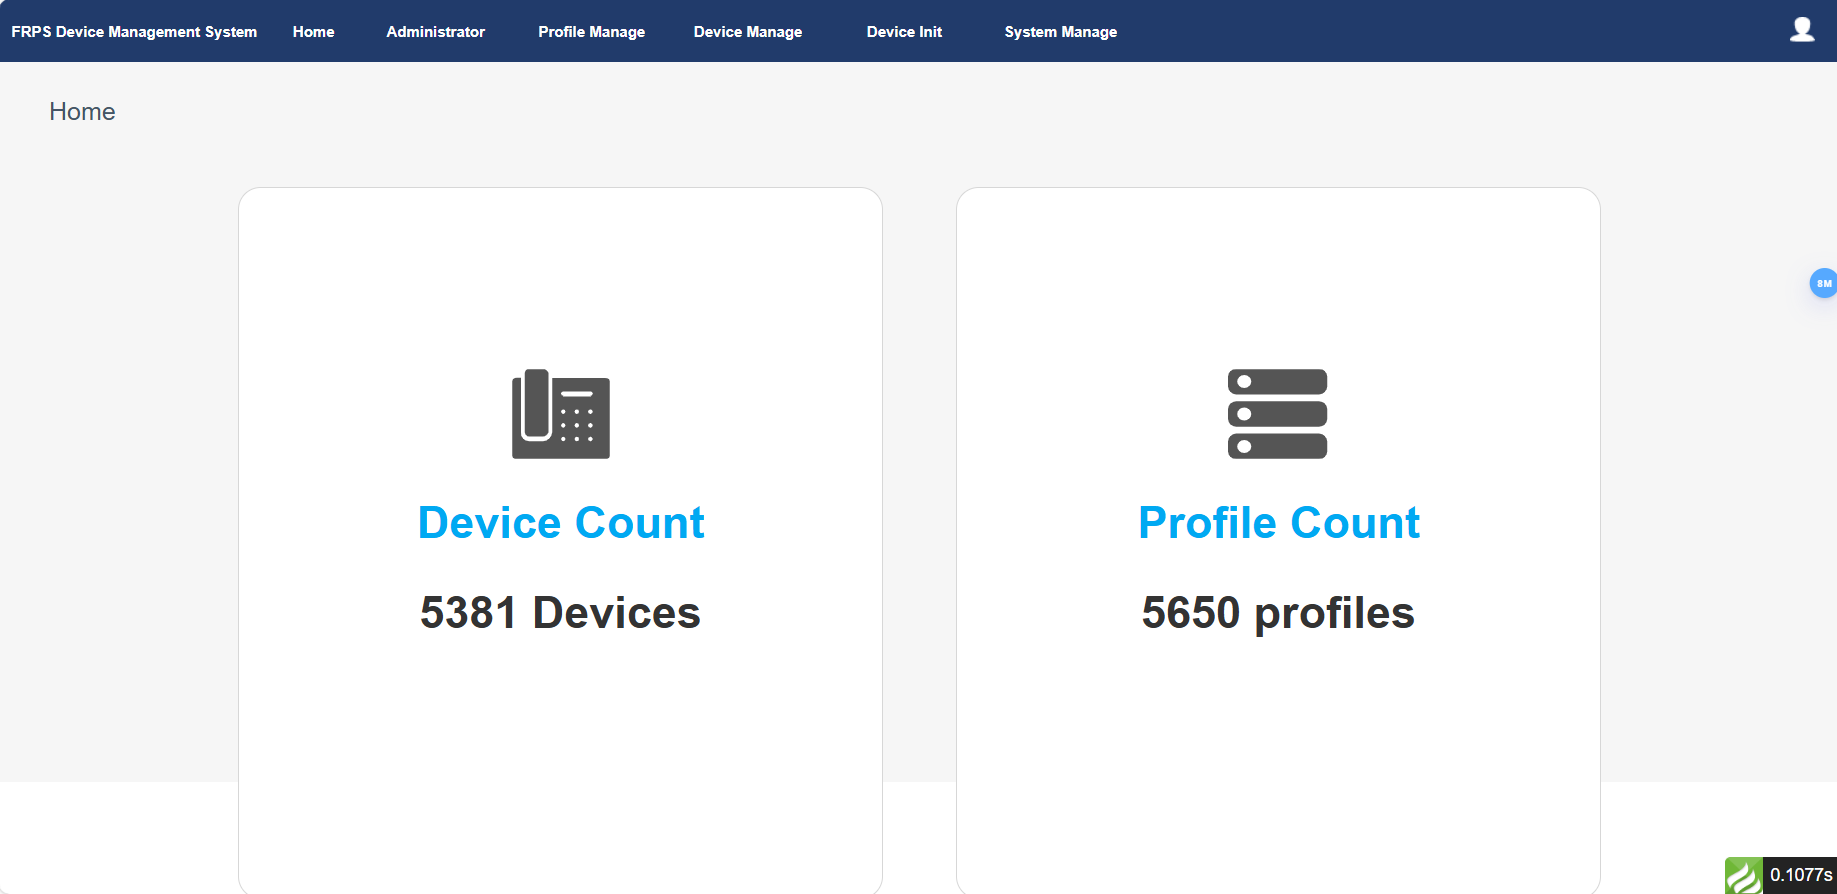
Add profiles
1. Go to Profile Manage, click on Add.

2. Set up the parameters and click on Confirm.
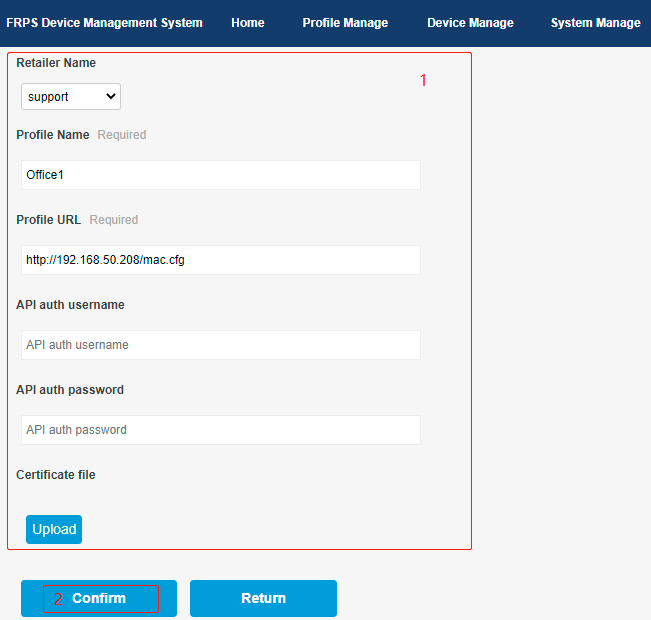
(1) Profile Name(required): enter a profile name.
(2) Profile URL(required): enter the provision URL of the auto provisioning server.
(3) API auth username(optional): the user name for provisioning server access.
(4) API auth password(optional): the password for provisioning server access.
(5) Certificate file: under development.
Edit profiles
1. Go to Profile Manage, select the desired profile, click on Edit. Then edit and save the parameters.

Add devices
Go to Device Manage, click on Register.

The FRPS platform supports the registration of single device as well as batch import of devices.
Single registration: Set up the parameters and click on Confirm.
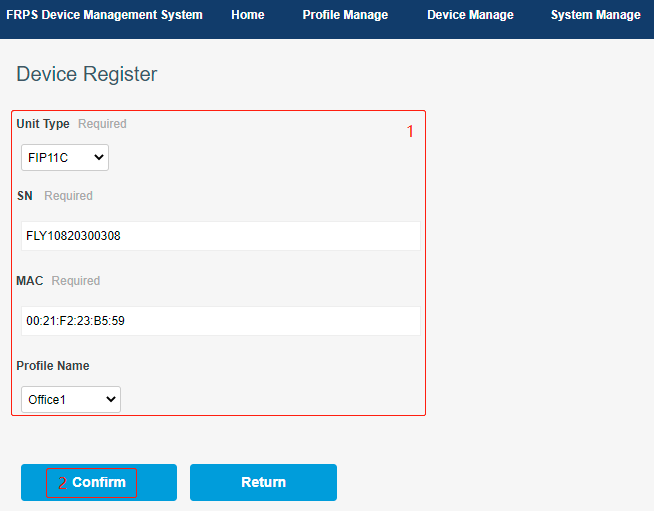
(1) Device Type: Select the model of the imported device;
(2) Device SN: Fill in the SN number of the registered device (format: FLYXXXXXXXXXX);
(3) MAC: Fill in the MAC address of the registered device (format: 00:21:F2:XX:XX:XX);
(4) Profile name: Select the added profile to be redirected, which is used for the device to get the configuration file from the auto-provisioning server after redirection.
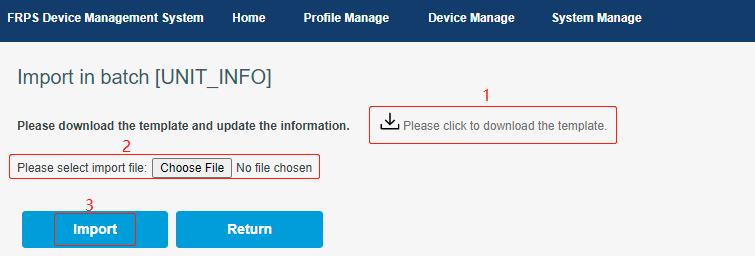
Batch import: Go to Device Manage > Import, download the template, then edit the information in the template, finally import the file to the system.

>>>Note:
When you fail to add a device to the system, please send the device's model number, SN, and MAC address to the Flyingvoice engineer to add to the system. Then you can add the device successfully.
Transfer devices
You can transfer to the device to another profile. Go to Device Manage, select the desired device, click on
Transfer to, then select the desired profile and click Transfer.

Remove devices
Go to Device Manage, select the desired device, click on Unregister, then click on OK in the poping window.

System Management
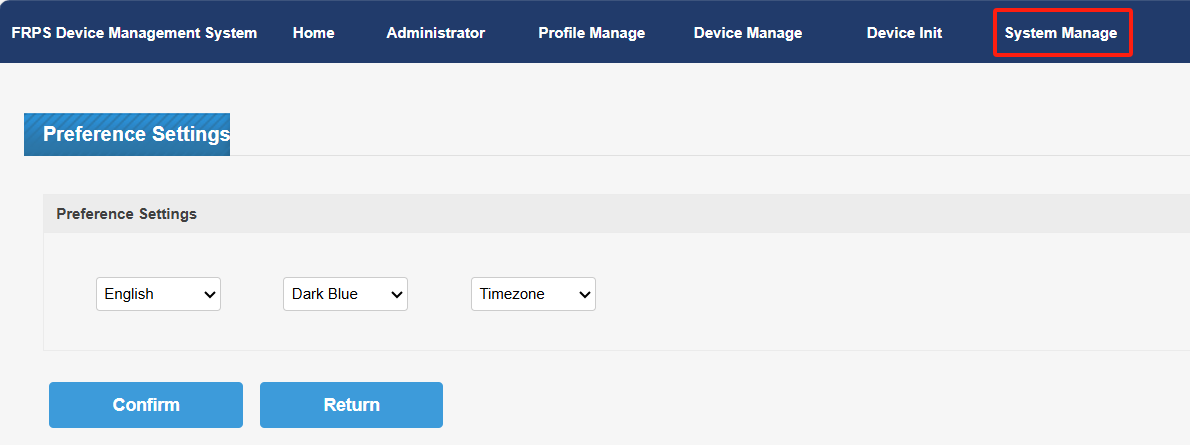
You can also choose the language, theme, time zone according to your preferences.


 Back to list


